How to Add a List of Sites in a Multisite Network to Each Subsite
Use the subsites in your Multisite install to promote other subsites across your network with this fantastic tutorial by our resident Multisite expert.

If you’re using a WordPress Multisite network to host a number of related sites, it can be useful to include links to all of the sites in each of your sites.
This will help visitors who arrive at the wrong site in your group and also encourage people browsing any one of the sites in your network to visit others. If your network offers people the ability to create their own site, then being able to browse other sites in the network will help them see what they could get if they signed up.
Our Blogs Directory plugin lets you easily do this on your main site, by adding a “Sites” page to your main site. That page automatically lists all of the sites in your network.
But what if you want to add this to every single site in your network? It is possible, but you’ll have to write some code. In this post, I’ll show you how.
What You’ll Need to Follow This Post
To follow along with this post you’ll need:
- A development or test installation of WordPress with Multisite activated,
- A suitable theme to use as a parent for all of the sites in the network (I’ve uploaded the one I’m using to GitHub),
- Some sites added to your network, and
- A code editor, like Sublime or Atom.
Getting Started
We’re going to be working with our parent theme plus a child theme of that parent. I’ll be using just the one child theme here – if your network has sites in the same organization or for different users, you’ll need to use different child themes.
The method I’m outlining here assumes you’re going to be using the same parent theme for all of the sites in your network, which is most suitable when using a network to host client sites or all the sites for one organization.
Note: You could adapt this for use in a plugin that you then activate on all sites in the network. However, you would have to either add the code to activate the function to each site’s theme, or you’d have to ensure the theme used for each site has the same hook that you can attach the plugin function to.
The steps we’ll follow are:
- Create a child theme for use in a site on the network.
- Edit the parent theme’s functions file.
- Add some styling to the parent theme for our list of sites.
Let’s start with that child theme.
Creating a Child Theme
If you’re already running a child theme on the sites in your network, you don’t have to follow this step. I’m going to create one child theme but I’m assuming that you’re using a different child theme for each site in your network. As long as they all have the same parent theme, the technique will still work.
Create a new theme folder in your wp-content/themes directory and add an empty style.css file to it. Open that file and add commented out text at the beginning:
That will tell WordPress that this is a child of the parent theme that we’ll be adding the code to.
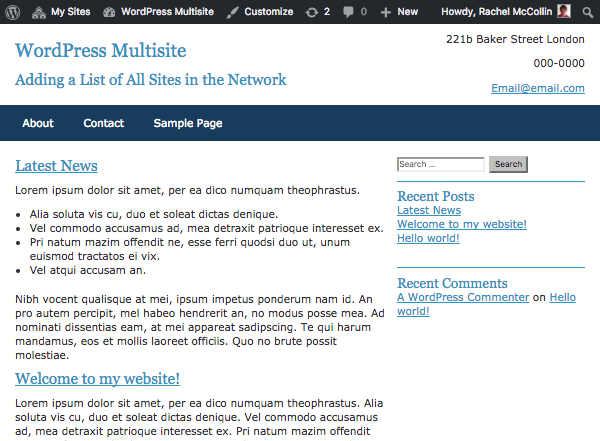
Now, activate that theme on at least one of the sites in your network and visit one of those sites.
Here’s my starting site:
Creating the Function to List Sites
Now we’ll create the function that will list out the sites with links. Open the functions.php file in your parent theme (or create one if it doesn’t already have one) and add this:
This uses the get_sites() function to fetch information about all of the sites in the network and stores that as a variable called $subsites. It then checks if anything has been fetched by that function and if so, opens an unordered list and a foreach loop. The whole thing is hooked to the wpmu_before_header hook, which is an action hook in my parent theme.
Note: If your parent theme doesn’t have any hooks, you’ll have to code the wpmu_list_sites() function into your theme’s header, or add a hook.
Now inside that loop, add this:
This fetches the blog ID for the subsite (which is necessary because the get_sites() function retrieves the information as an object, not an array). It then assigns variables to each of the site’s name and its URL, using get_blog_details(), and finally echoes out the name with a link to the URL, in a list item.
Here’s the full function:
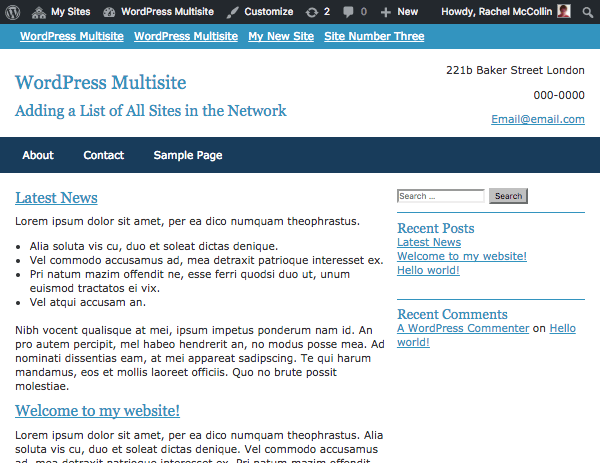
Now let’s take a look at the site:

There it is! But it doesn’t look too good. Let’s add some styling.
Styling the List
Open the parent theme’s stylesheet and add this styling for our list:
This floats the list items next to each other, adds a background and text colour, and removes the bullets.
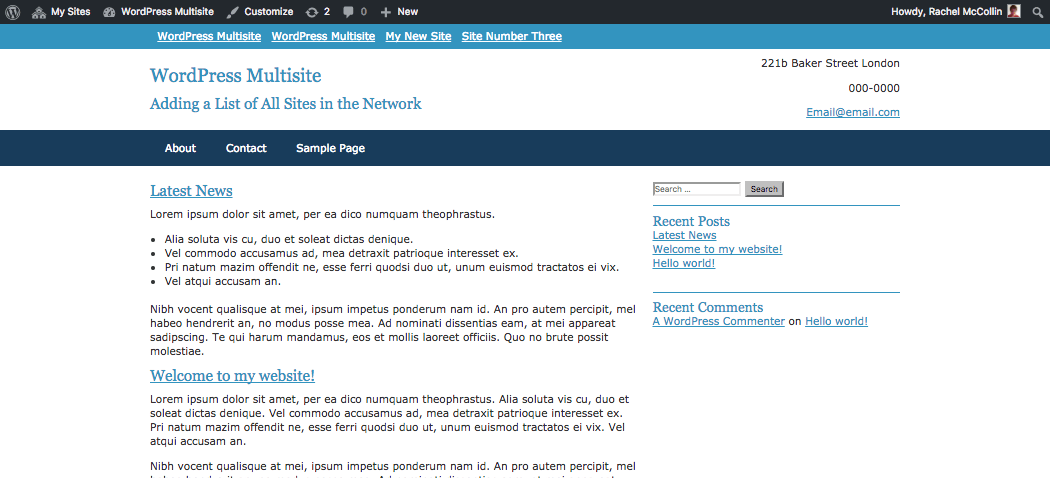
Here it is on the site now:
Looks good! But there’s a problem. On wider screens, the list is way over to the left and not aligned with the rest of the site content:

We can easily fix that. First in your function, add a container element. The function will now look like this:
Second, add some styling for this container element to the stylesheet:
Edit the styling for the ul element:
And finally, tweak the margins for links so that they align with the left of the content:
Now your list will look much nicer:
So there you have it! If you wanted to to, you could add this elsewhere in the site, such as in the footer or sidebar. If so, you’d probably amend the styling.
Promoting Your Network and its Sites
If the sites in your Multisite network are linked, for example if they all relate to parts of one larger group or organization, it’s a good idea to give visitors the ability to easily switch between them.
Using this technique in your parent theme will save you having to manually add links to the other sites each time you add a new site to the network. If you wanted to tweak it for your subsites, you could easily edit the stylesheet for each site to amend the colors and layout, or you could remove the function from the action hook and attach it to a different hook to display it elsewhere.
Share article
All the good WordPress stuff, once every two weeks
Subscribe
Create your free account to post your comment
Login to post your comment